Our UK Gift Aid plugin can be used as a regular WooCommerce donation plugin – in any country or currency. In this guide, we’ll show you how to set up the plugin so you can accept donations at the checkout, and from within any content on your site, even if you use a page builder like Elementor or Divi.
It Works in Any Country
The plugin started out as a way to accept customer consent for a UK-specific tax relief scheme. Over time we’ve added a couple of features to it, while being careful not to add software bloat – we like things to be lean and performant.
The killer feature is being able to accept donations at the checkout, and via a shortcode.


Configure Checkout Donations
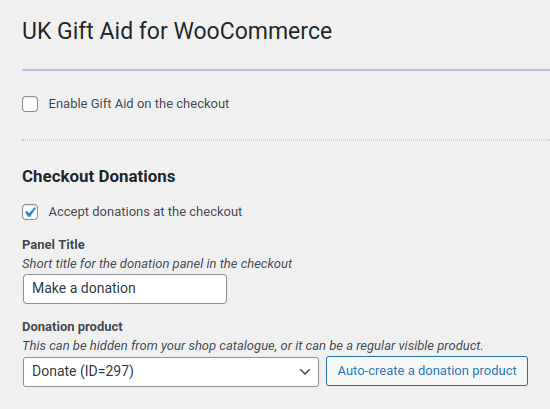
After installing and activating the plugin, go to Settings > UK Gift Aid. Assuming that you don’t need the UK Gift Aid functionality, leave the first box unchecked.
Next, enable the “Accept donations at the checkout” option.
The plugin needs a WooCommerce product to act as the “donation product”. It should be a “simple” product (i.e. not variable). We recommend the donation product has a regular price of zero and is hidden from your shop’s catalogue.
You can use the Auto-Create button to set up a new product for you – you can customise the product later if you want to.
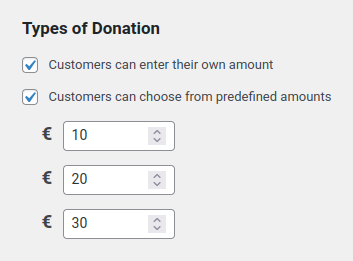
You can also choose whether your customers can enter their own amount, and set up some pre-configured amounts too.
tippre-configured amounts are a lot easier to use on mobile devices.
Accept Donations from Anywhere
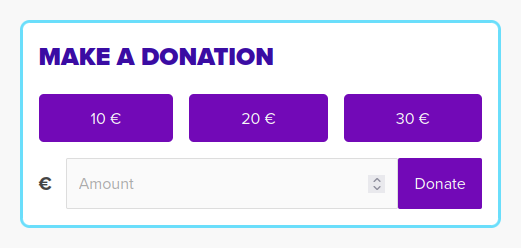
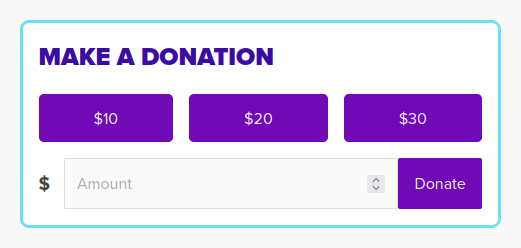
Now that you can accept donations at the checkout, you can add the “donation_box” shortcode to your content.

By default, the plugin will pick up the Checkout Donations settings. You can override these in the shortcode, like this:
The Shortcode’s Parameters
- title: The title text for the panel
- h: This is the heading-level to use for the title. By default, the title uses <h3>, but sometimes you might want to change this to something like “4”. Usually, you can just ignore this parameter.
- buttons: true or false – whether or not you want the predefined donation amount buttons
- custom: true or false – show or hide the custom amount input
That’s all there is to it. Include the shortcode directly in your posts, add it to a side bar, or place it in a header or footer widget.
Good luck with your fundraising campaigns 👍


