
In this walk-through, we’ll cover how to create and configure a simple product in WooCommerce. Use it as a baseline reference.
Step 1:
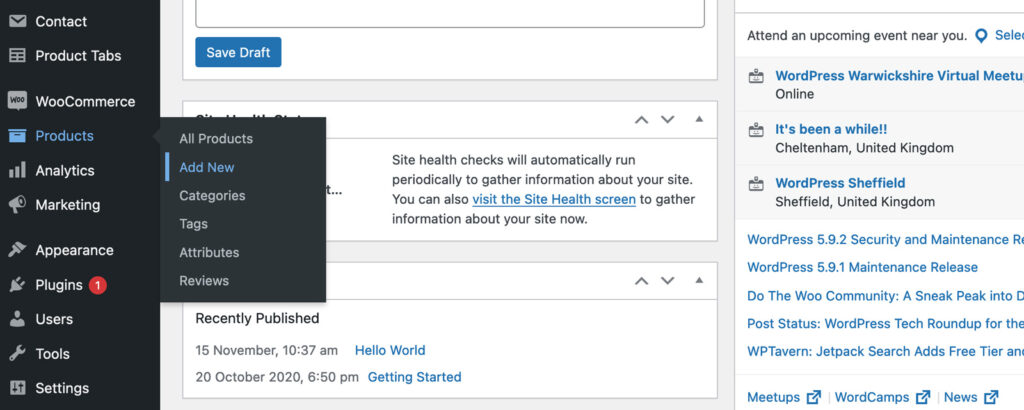
From your WordPress dashboard, navigate to Products > Add New. Click Add New.
Step 2:
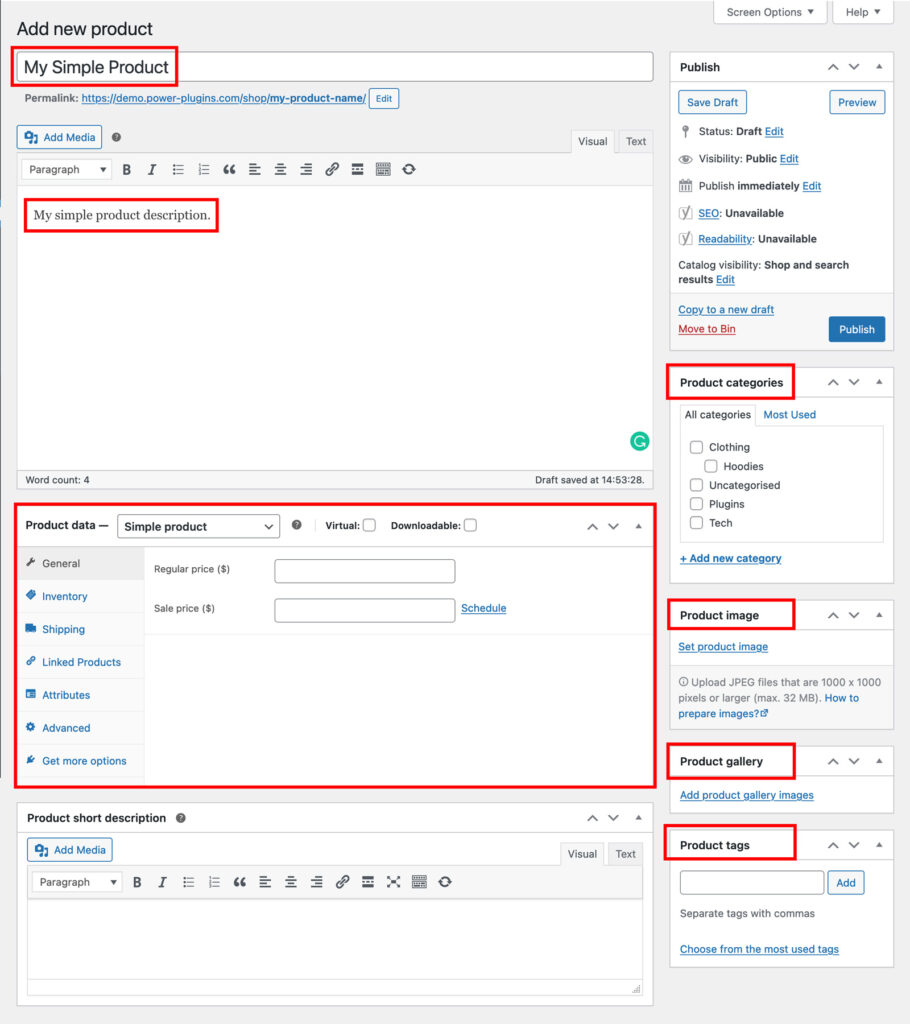
You’ll then see a new screen open displaying the product page editor. Here you can add your Product name, description, product image, and additional images. From here you will also be able to add your product categories and product tags.
Step 3: Product Data Settings:
In order to set our product up we must first input some key information. In the Product data panel you’ll find a series of tabs comprising:
- General settings – For configuring the regular price and sale price of the product.
- Inventory – For adding SKU(Stock Keeping Unit), managing stocks, and limiting purchases.
- Shipping – For configuring product weights & dimensions, and selecting a Shipping class.
- Linked Products – For selecting products for upsells and cross-sells.
- Attributes – Allowing you to add product attributes for a better description of the product, and/or choices.
- Advanced – For adding purchase notes, menu orders and enabling reviews.
- Get more options – For adding extensions to your WooCommerce store.
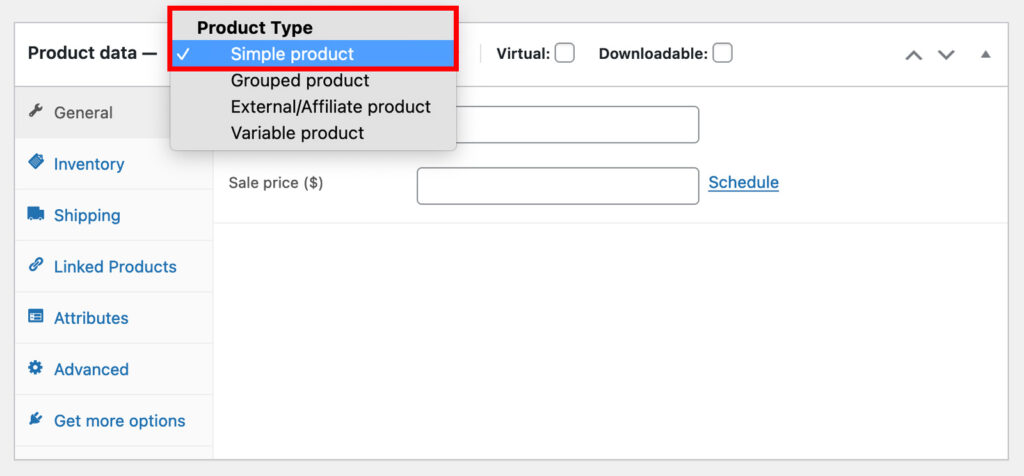
To set up you Simple product select ‘Simple product’ from the dropdown menu as shown below:
Once you have filled out all of the fields necessary, click the Publish button in the top right of your screen to publish your WooCommerce Simple Product.
