Learn how to configure a WooCommerce store. Set your store’s info, configure the currency and avoid installing unnecessary bloat by skipping the default setup wizard. Although bypassing the setup wizard and configuring things manually sounds intimidating, if you break it down into small chunks, you’ll be selling products in no time.
Step One: Install the Plugin
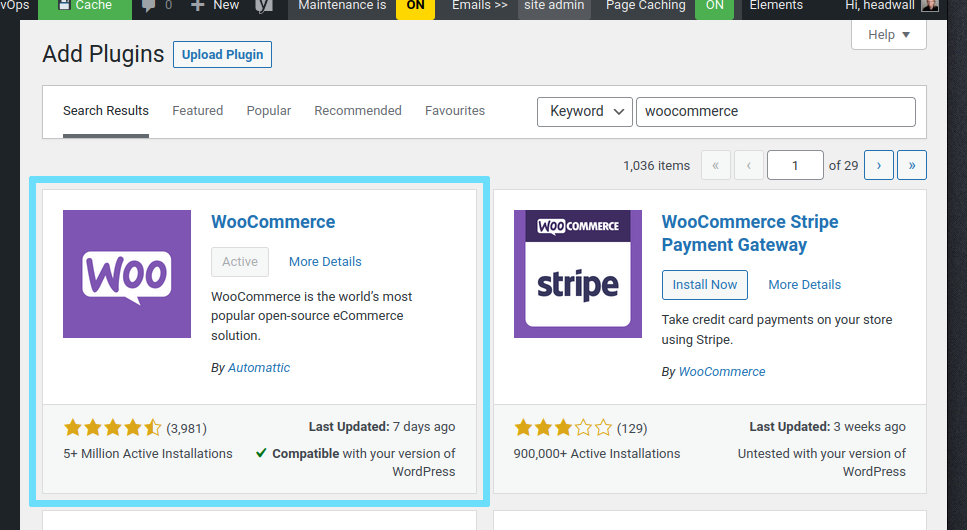
The foundation of any WooCommerce store is the core WooCommerce plugin. It’s 100% free and… basically… you need to install it. It’s a regular plugin, available from the Plugins area in the back end of your site.
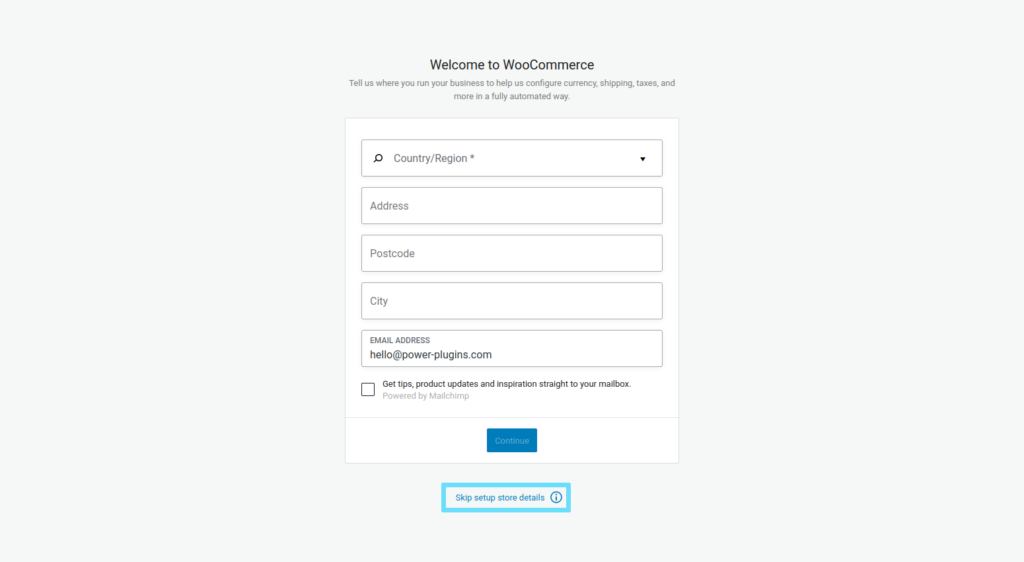
After you’ve activated the plugin, WooCommerce will try to guide you through the Store Setup Wizard. Although you can complete the wizard if you want to, we prefer to skip it… and set up things manually. Manual configuration doesn’t take long, and you won’t end up accidentally installing 5 more plugins that you don’t really need.
Step Two: Configure our Store’s Info
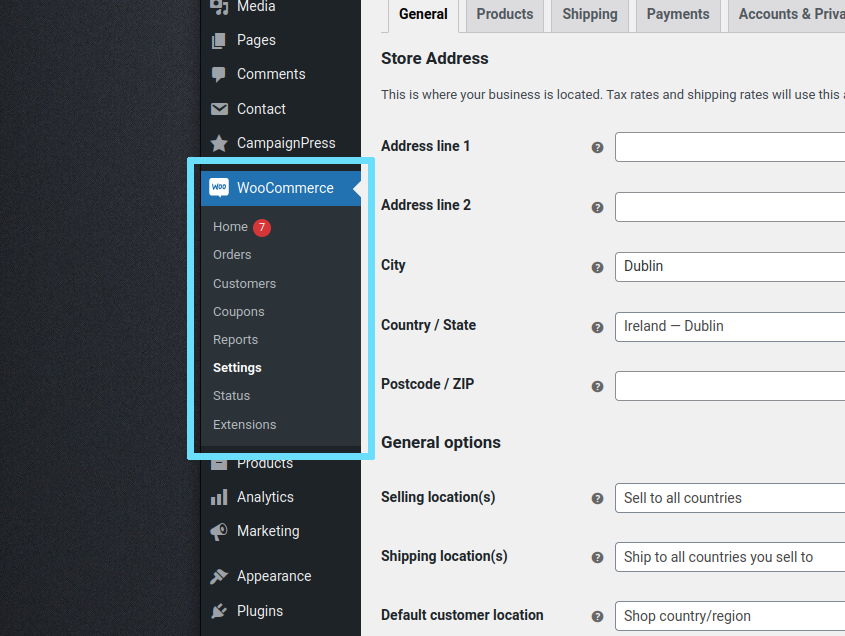
We need to tell WooCommerce about our store so it can configure things like currency and units of measurement (metric/imperial). In the site’s admin menu, go to WooCommerce > Settings.
WooCommerce arranges its settings across multiple tabs on this page. The store’s general settings are on the first tab, so we’ll start here.
When you enter the trading address, the most important setting is the “Country / State”. WooCommerce uses that to guide shipping calculations later.
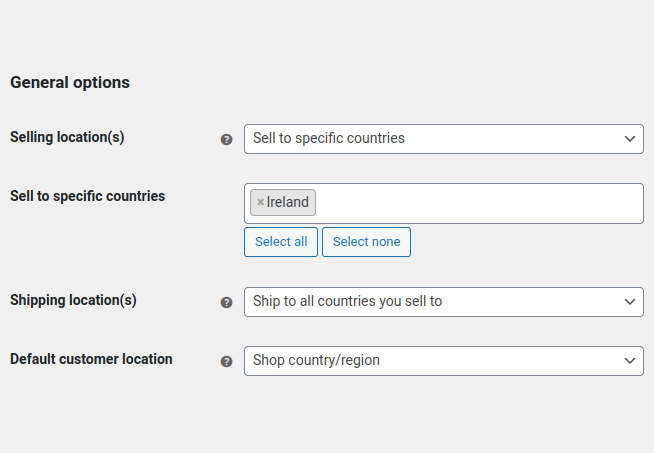
Keep the “General options” settings simple for now, too. Sell to a single specific country… the one you specified as the store’s location.
We recommend leaving “Enable tax rates and calculations” and “Enable the use of coupon codes” unchecked for now. Keep things simple to start with – we can come back later and enable those one-at-a-time if we need to.
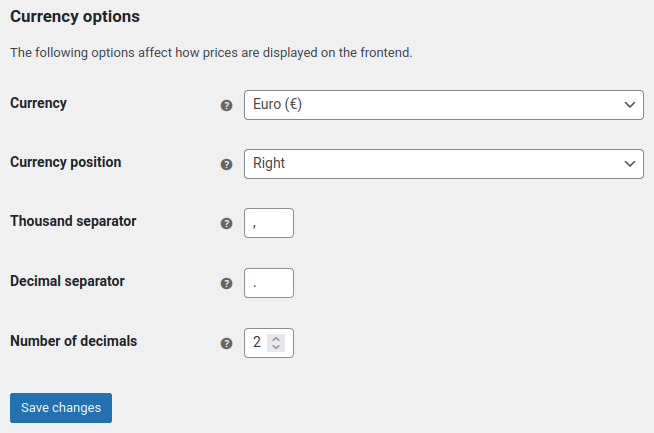
Next, set the currency options and then hit the “Save changes” button.
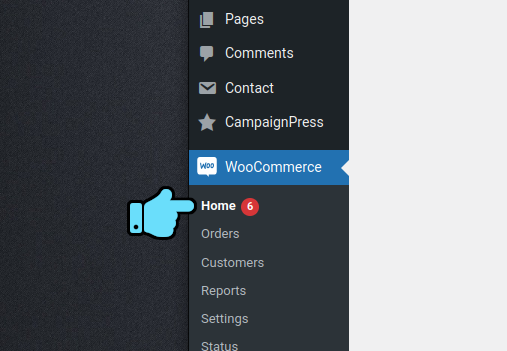
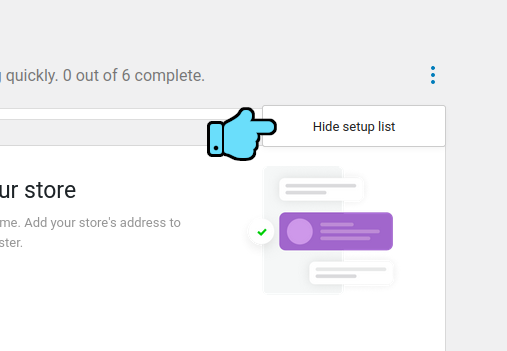
For the final part of this stage, we’re going to tell WooCommerce to stop reminding us about various tasks we “need” to accomplish. Go to the WooCommerce Home area and locate the three-dots menu above the setup tasks. Click it and select the “Hide setup list” option.
That’s it – you’ve got a basic WooCommerce store that just needs some products added to it.

