
In this tutorial we’ll go over the critical preparation that’s needed before we can start adding products to WooCommerce. There are some common mistakes you’ll want to avoid with the site-wide product settings. Products are key content, and we want them to be indexed correctly by the search engines.
Decide on a Permalink Structure
Start by considering how you want your site’s product URLs to look. The permalink structure is used to create our store’s URLs. Once a site has been indexed by the search engines, changing the permalink structure can be a real pain. It’s good to get it right early on.
If we’ve got a product called “All Weather Tent” in a product-category called “Camping Equipment”, we could go for URLs that look like any of these:
- www.mywebsite.shop/shop/camping-equipment/all-weather-tent
- www.mywebsite.shop/product/all-weather-tent
- www.mywebsite.shop/outdoor-shop/all-weather-tent
Option One is the most future-proof option. It leaves you plenty of scope to add new categories, and the URL is nice and descriptive. A potential problem is that the URLs could end up being quite long.
Option Two is OK, but “product” is a bit generic… Having “product” in there doesn’t add any context to what it is you’re trying to sell.
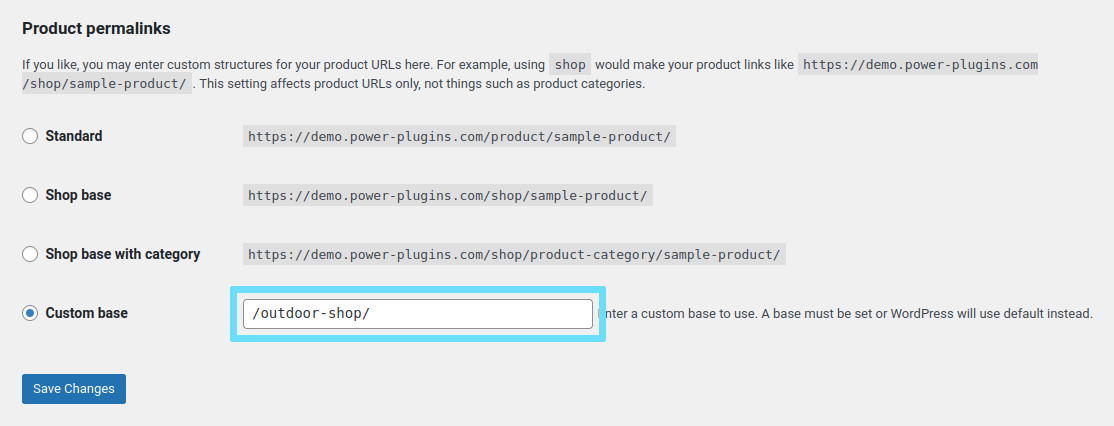
I like Option Three best. It uses “outdoor-shop” as the base for all products, which adds some context to the items that are for sale. We’ve not included the product category, because it would make the URLs quite long. But… if you’re going to have 100s of products, adding the product category is worth considering.
When you’ve decided on a structure, go to your website’s admin area, Settings and then Permalinks. Enter your Custom base and hit Save Changes.
Group Products by Category or Tag?
ImportantWordPress comes with two taxonomies for grouping posts, called “Category” and “Tag”. It’s important to note that WooCommerce’s Category and Tag taxonomies are different… they should really be called “Product Category” and “Product Tag”.
With that in mind, the question remains… what’s the best way to group products together?
- If you only have a few products in your store, you can put them all into the “Uncategorised” category. Then just rename the category to something appropriate to your products.
- If you’ve got products that fit into multiple categories… leave the “Uncategorised” category as it is, and create the product categories you need. Make sure every product goes into a category, and that “Uncategorised” is always empty.
- Product Tags can be useful when you have lots of products across multiple categories, and you want a second means of grouping things together. But that comes much later… when you’re setting up a new WooCommerce store, the best advice is to ignore Product Tags for now.
The preferred method is Option Two… create one or more product categories and make sure Uncategorised is always empty.
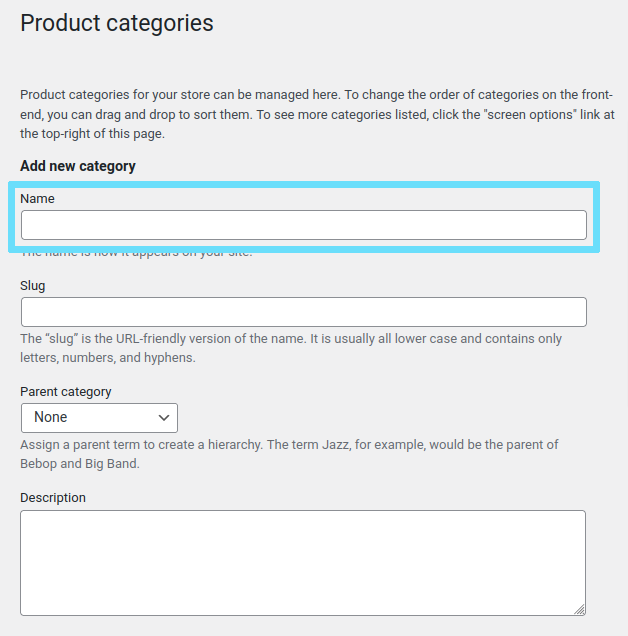
Let’s set up our first category. Go to Products > Categories, enter the category’s name and leave all the other fields blank. Then click the “Add new category” button. Easy.
It is actually important to add Descriptions to your categories, but it’s best to get the structure set up first, and come back to the descriptions and images later.
Set up Product Properties
The last thing we need to do before we can add some products is set up the units-of-measurement. In the back-end of your site, go to WooComemrce > Settings and click the “Products” tab.
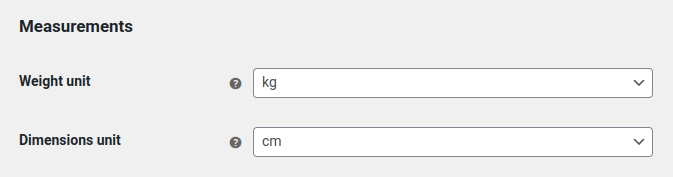
Make sure you save your changes when you’ve set the measurement units.
That’s the preparation work done. Now we’re ready to start adding products 😎
