
Install XAMPP on Ubuntu, and configure it to host multiple localhost sites at the same time. This should work on most modern Linux distros, not just Ubuntu.
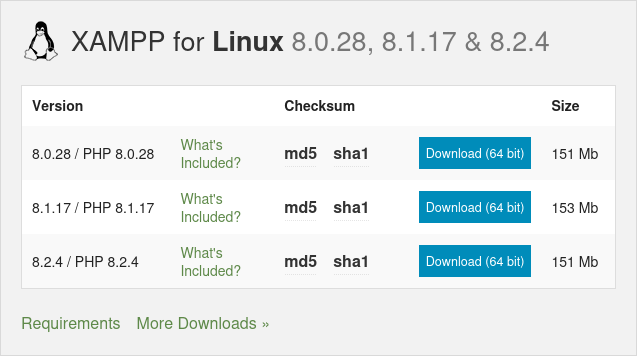
The first thing to do is download the correct version of XAMPP (i.e. the most appropriate version of PHP). If you’re not sure which version to get, download “the middle one”. So in this case, we’ll grab the PHP 8.1 version.
The download file name should look something like “xampp-linux-x64-8.1.17-0-installer.run” in your “Downloads” folder.
Mac or Windows?


Open a terminal and type the following so we can execute the installer.
# Make the downloaded file executable
chmod +x ~/Downloads/xampp-linux-*.run
…and then run the installer file as root by using “sudo”, like this:
# Run the downloaded file as root to start the installation
sudo ~/Downloads/xampp-linux-*.run
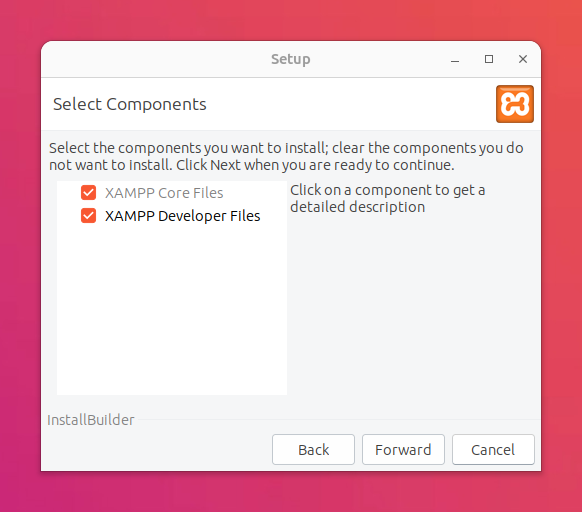
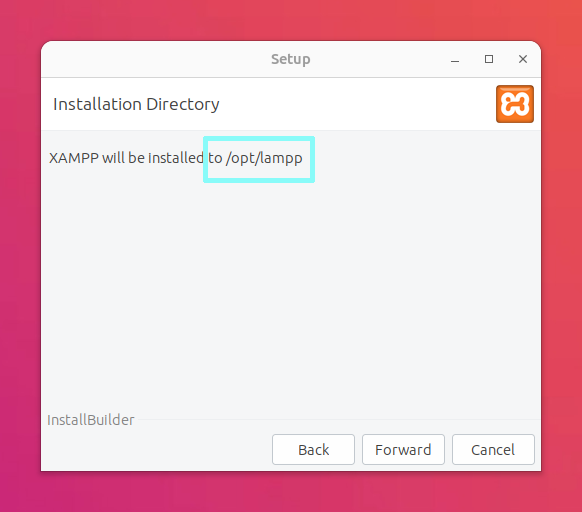
The installation wizard doesn’t have much in the way of choice, so accept the defaults and finish the wizard to install it to “/opt/lampp/”.
InformationAlthough the application is called the XAMPP Control Panel, it installs to a folder called “/opt/lampp” for historic reasons.
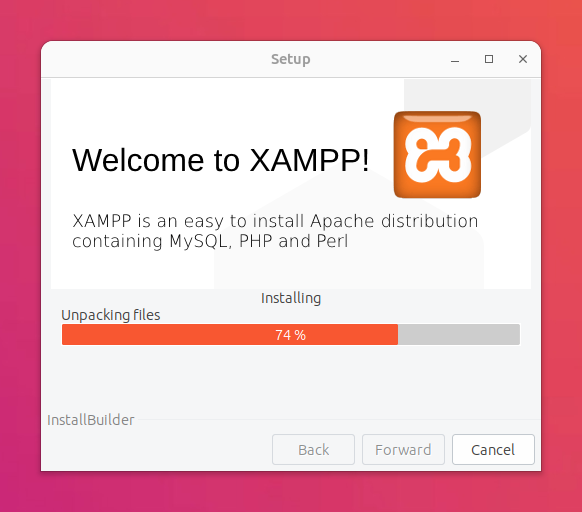
When it’s finished installing, uncheck the option to “Launch XAMPP” – we don’t want to run it yet. Exit the installer to go back to the terminal window.
To tidy things up, we’ll create a desktop launcher so you can pin it to the Dash. A desktop launcher is just a small text file that tells Gnome how to start XAMPP.
Paste the following into your terminal window and press Enter
# Create an application launcher for XAMPP
sudo gnome-text-editor /usr/share/applications/xampp-control-panel.desktop
Then add the following text, save the changes then close the text editor:
[Desktop Entry]
Encoding=UTF-8
Name=XAMPP Control Panel
Comment=Use the XAMPP Control Panel to start/stop Apache & MySQL services
Exec=sudo /opt/lampp/manager-linux-x64.run
Terminal=true
Icon=/opt/lampp/htdocs/favicon.ico
Categories=System;
Type=Application
InformationNotice that the command to run the XAMPP Control Panel is defined by the “Exec” line, and we prefix it with “sudo” so the program runs as root.
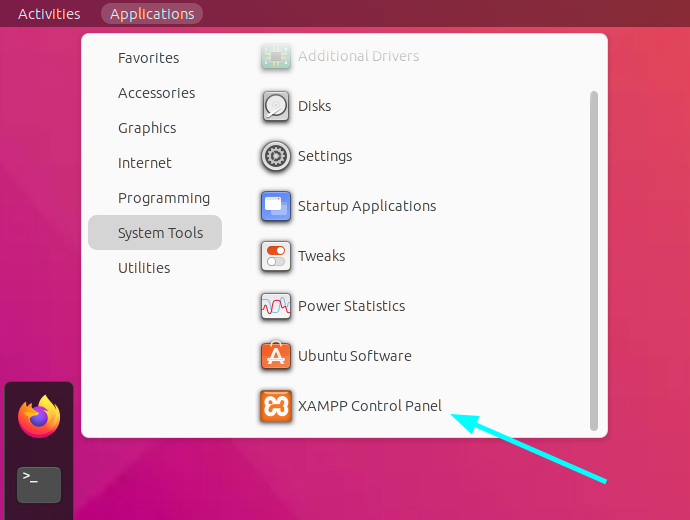
Log out of your desktop session, then log in again so “xampp-control-panel.desktop” is picked-up by Gnome and added to the menus.
Configure host name lookups
When your computer tries to convert a host name into an IP address, it first checks a local file called “/etc/hosts” (before trying DNS). This means we can add custom lookups in here for our development projects. Type the following into a terminal to edit your system’s “hosts” file:
# Edit the system's hosts file
sudo gnome-text-editor /etc/hosts
Add the following lines to the end of the file. You can change the host names to suit your projects, and you can add as many as you like:
##
# XAMPP Development Sites
#
127.0.0.1	scratch.localdev
127.0.0.1	my-client.localdev
127.0.0.1	local-shop.localdev
127.0.0.1	another-shop.localdev
Save that, close the editor, go back to your terminal and test that it works:
# Check that hostname lookups are working
ping scratch.localdev
You should see a response that confirms a response from “127.0.0.1”, like this:
64 bytes from localhost (127.0.0.1): icmp_seq=7 ttl=64 time=0.043 ms
64 bytes from localhost (127.0.0.1): icmp_seq=7 ttl=64 time=0.043 ms
64 bytes from localhost (127.0.0.1): icmp_seq=7 ttl=64 time=0.043 ms
Press CTRLC to stop the ping command from running.
Tweak Apache’s core config
XAMPP’s Apache configuration has a core configuration file, and several sub-configuration files. Paste the following into a terminal window to edit the core configuration as root.
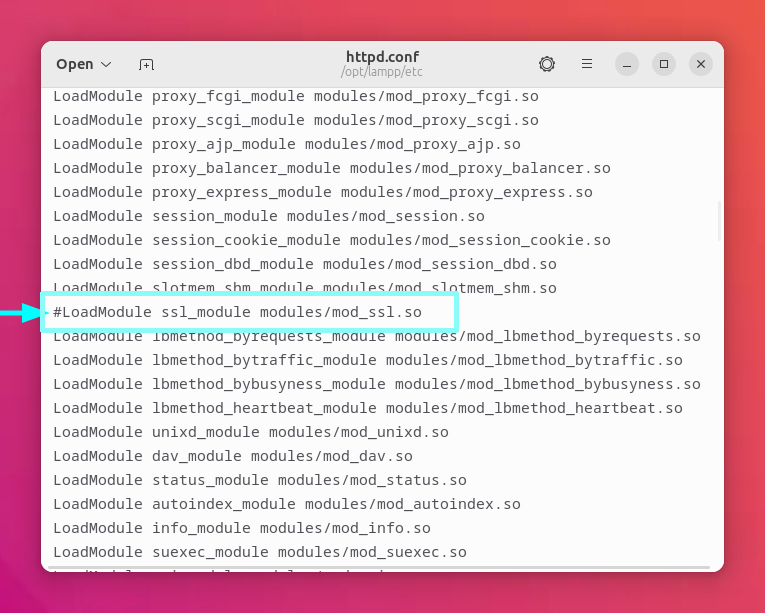
# Edit the XAMPP main Apache configuraiton
sudo gnome-text-editor /opt/lampp/etc/httpd.conf
Disable SSL: Locate the line that starts with “LoadModule ssl_module…” and comment it out by putting a “#” at the beginning of the line.
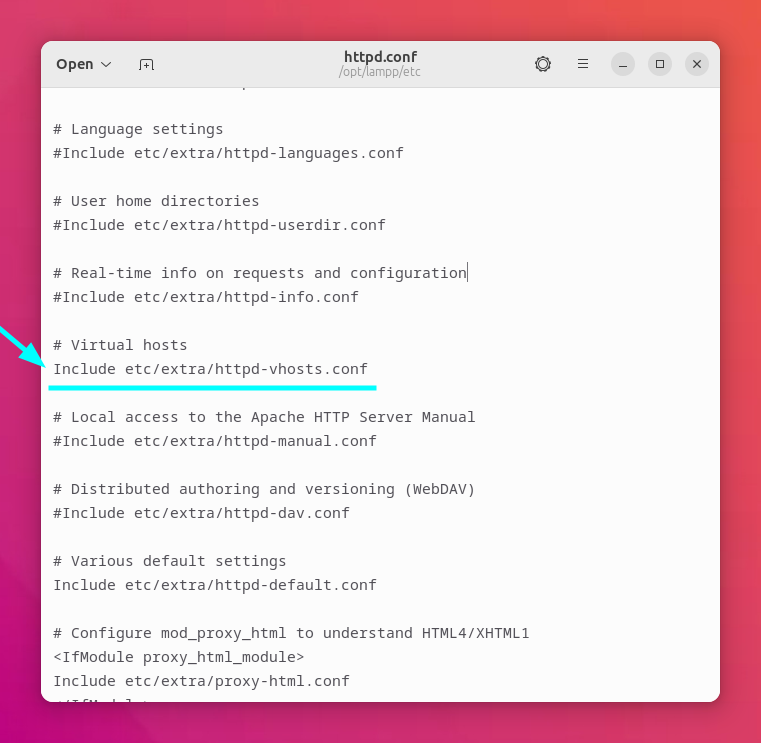
Enable Virtual Hosts: Enable the “virtual hosts” sub-configuration file by removing the “#” at the beginning of that line:
Save those changes and close the text editor to return to the terminal window.
Create Apache virtual hosts
Edit the vhosts sub-configuration file as root by typing this into your terminal:
# Edit the XAMPP Apache virtual hosts configuration file as root
sudo gnome-text-editor /opt/lampp/etc/extra/httpd-vhosts.conf
Completely replace the contents of the file with this:
##
# XAMPP virtual host definitions
# /opt/lampp/etc/extra/httpd-vhosts.conf
#

# All our websites are stored in sub-directories under here.
<Directory "/opt/lampp/vhosts">
	AllowOverride All
	Require all granted
</Directory>

##
# Each site needs a ServerName that matches an entry in /etc/hosts
#
<VirtualHost *:80>
	ServerName scratch.localdev
	DocumentRoot "/opt/lampp/vhosts/scratch.localdev/htdocs"
	ErrorLog "/opt/lampp/vhosts/scratch.localdev/log/error.log"
	CustomLog "/opt/lampp/vhosts/scratch.localdev/log/access.log" common
</VirtualHost>

<VirtualHost *:80>
	ServerName my-client.localdev
	DocumentRoot "/opt/lampp/vhosts/my-client.localdev/htdocs"
	ErrorLog "/opt/lampp/vhosts/my-client.localdev/log/error.log"
	CustomLog "/opt/lampp/vhosts/my-client.localdev/log/access.log" common
</VirtualHost>
Save that and close the text editor to get back to the terminal.
Next we need to create some folders and files so we can start serving content. Enter this into the to create the basic folder structure:
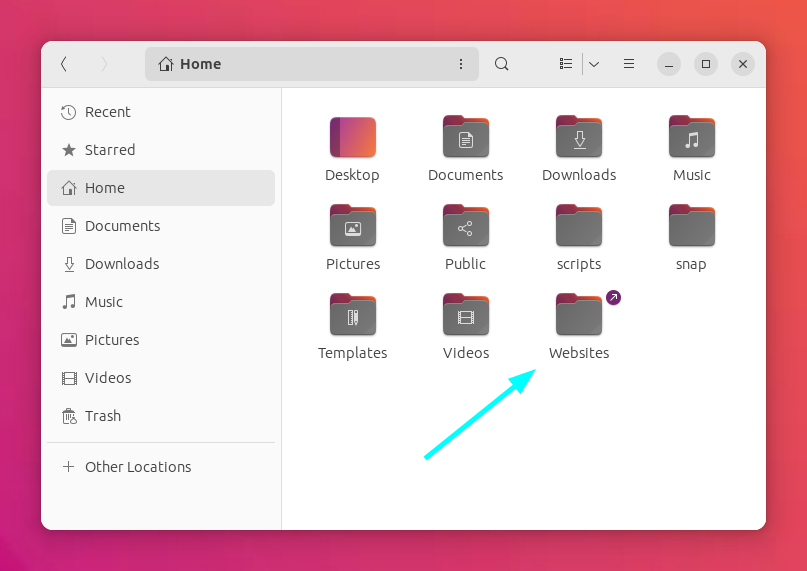
# Create the main folder for vhosts and move it into XAMPP's folder
mkdir ~/vhosts
sudo mv ~/vhosts /opt/lampp/
ln -s /opt/lampp/vhosts/ ~/Websites
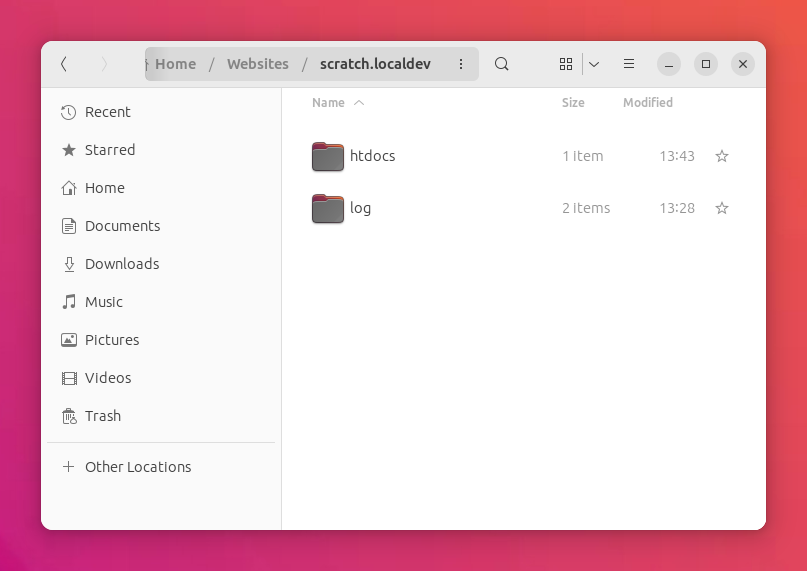
Point your file browser to your home folder and you’ll see a linked-folder (symlink) called “Websites”. Go into this folder and create a new folder for each host that you added to “/etc/hosts”. And in each of these folders, create sub-folders called “htdocs” and “log”.
Using the examples from the above hosts file, you end up with a folder structure like this:
- /home/paul/Websites/ (link: “/opt/lampp/vhosts/”)
- scratch.localdev/
- htdocs/
- log/
- my-client.localdev/
- htdocs/
- log/
- local-shop.localdev/
- htdocs/
- log/
- another-shop.localdev/
- htdocs/
- log/
- scratch.localdev/
Create a test HTML file
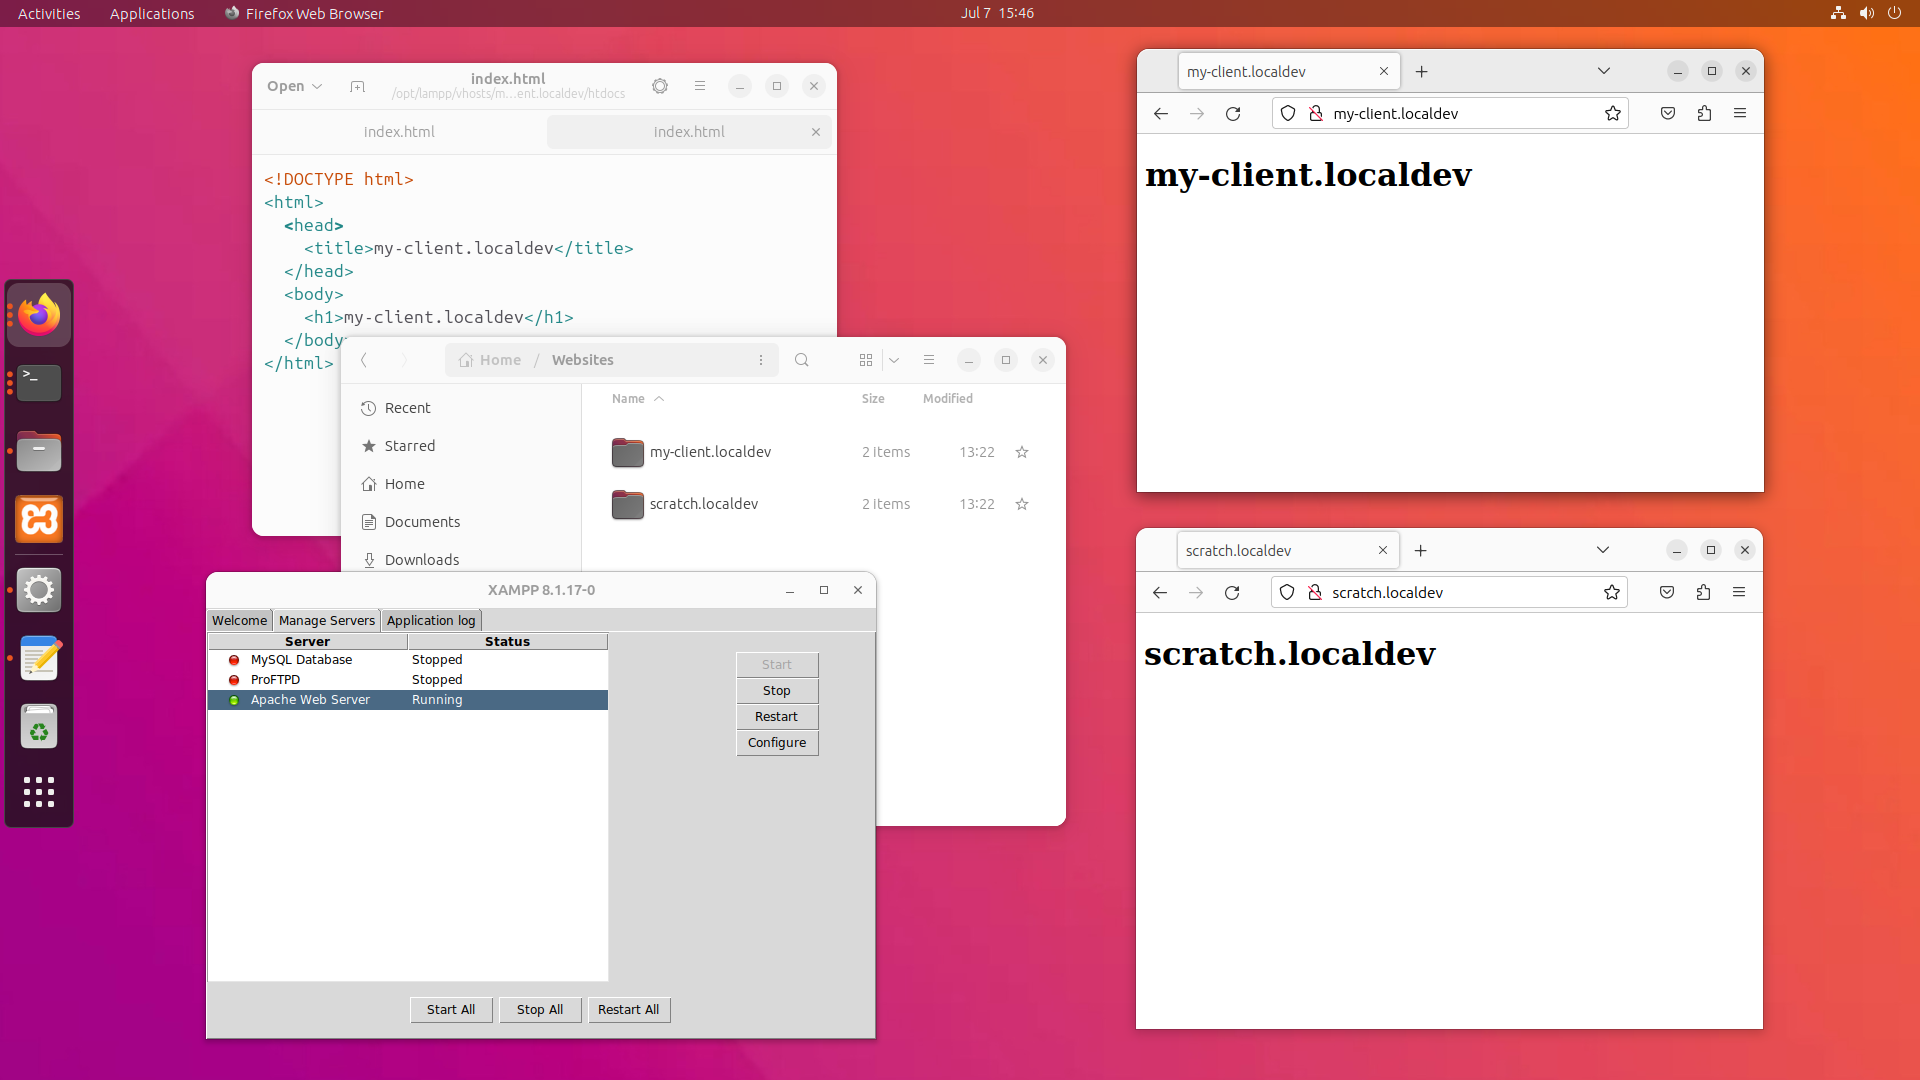
New we just create simple HTML files in our project “htdocs” folders. We’ll delete these files later, so they don’t need to be fancy or complete.
<!DOCTYPE html>
<html>
	<head>
		<title>scratch.localdev</title>
	</head>
	<body>
		<h1>scratch.localdev</h1>
	</body>
</html>
Change the contents of the title and h1 tags so they show the name of the site’s containing folder (e.g. “my-client.localdev”).
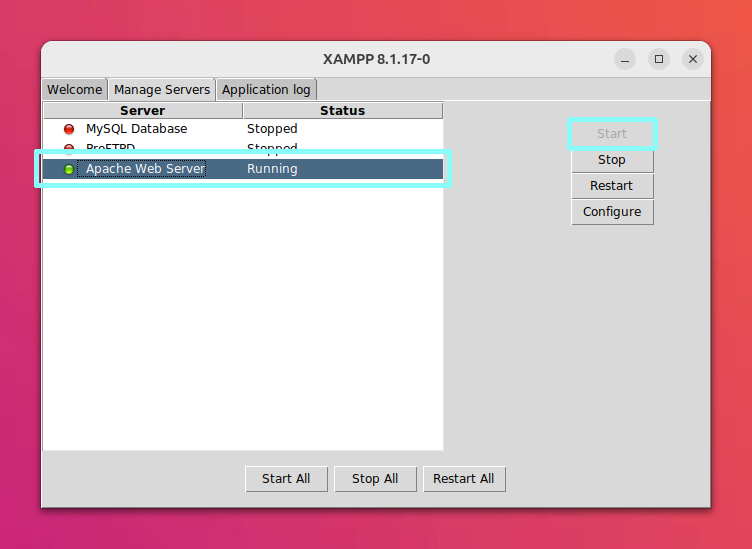
Enable and test
If the XAMPP Control Panel isn’t already running, start it now. Then go to the “Manage Servers” tab and start the Apache Web Server.
You can now point your browser at http://scratch.localdev/ and http://my-client.localdev/ to check you’ve got two independent dev sites.
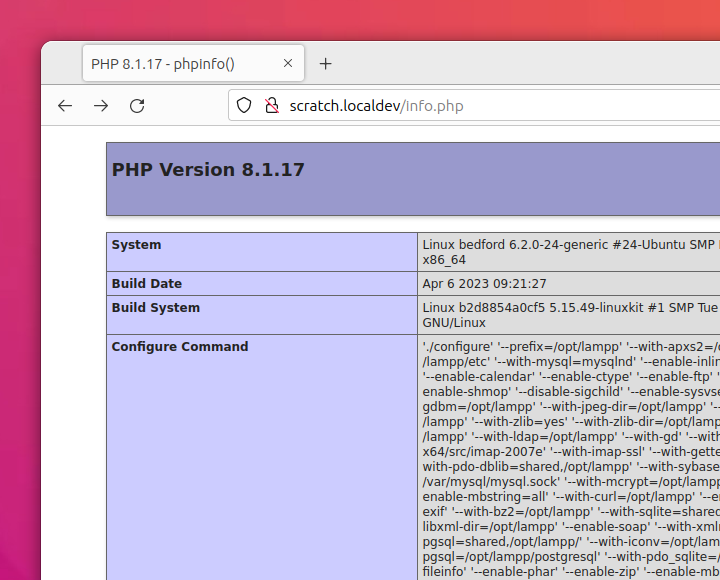
Testing PHP
Create a new file in “scratch.localdev/htdocs” called “info.php” and paste the following snippet into it:
<?php

phpinfo();
…then point your browser to http://scratch.localdev/info.php. If you get the built-in PHP info page, everything is working properly.
Adding more local dev sites
To add more sites, all you need to is:
- Edit (sudo) “/etc/hosts” and create an entry for the host name you want to use
e.g.127.0.0.1 amazing-new-client.localdev - Edit (sudo) “/opt/lampp/etc/extra/httpd-vhosts.conf” as root and create a new “<VirtualHost *:80>…</VirtualHost>” snippet, where ServerName matches the host name you added to “/etc/hosts”
- In “/opt/lampp/vhosts”, create a subfolder with the new host name and put two subfolders in there, called “htdocs” and “log”
- Put your web content in the new “htdocs” folder
- Use the XAMPP Control Panel to restart the Apache service
There you have it – Apache & PHP running on your local computer with support for multiple dev sites 😎 👍
